Power saws save time and effort on site and in the workshop, but they can bite back fast if you get casual with them.
Most injuries come from the basics: rushing a cut, using the wrong saw, or skipping checks. This guide shares practical power saw safety tips, so you can work faster and safer.
Key Takeaways
- Check the saw, blade, and guards before every cut.
- Clamp and support the workpiece so it can’t shift.
- Use two hands, stand to the side, and feed the saw steadily.
- Treat the “after the cut” moment as high-risk—wait for the blade to fully stop.
- Control dust where possible, especially on masonry and slab work.
Why Power Saw Safety Matters on Site
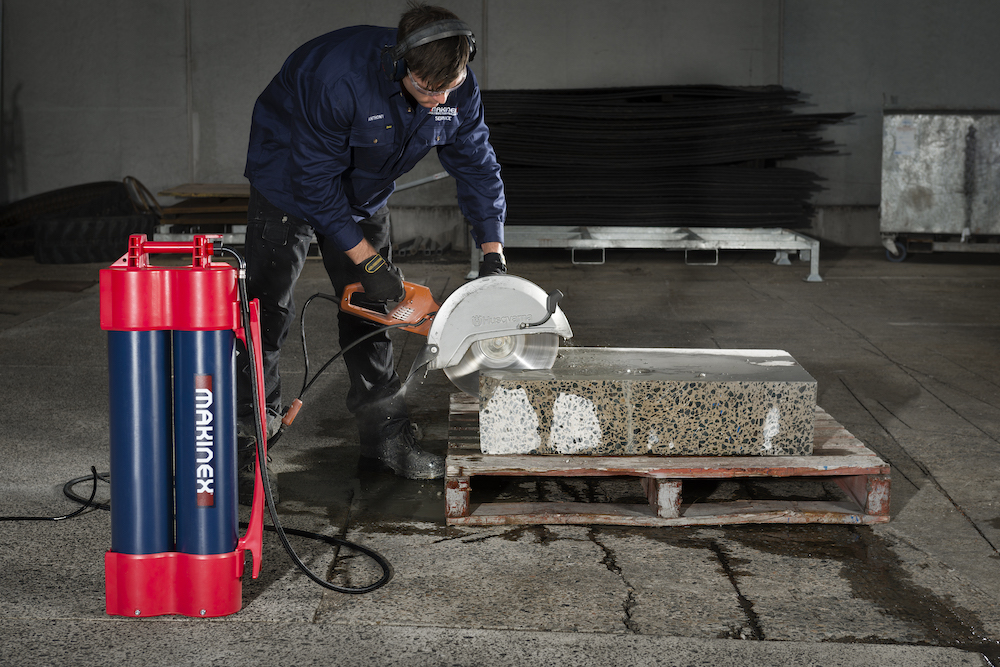
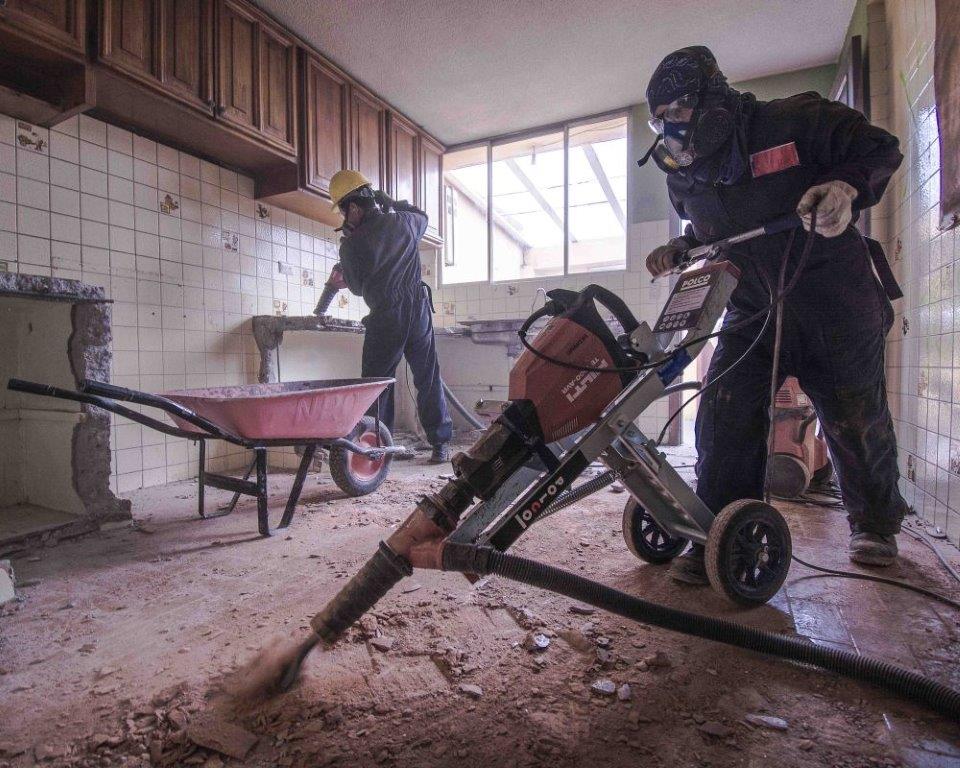
Most accidents happen when someone changes position mid-cut, reaches in too soon, or shifts the saw while the blade is still spinning. Beyond cuts, many saws throw sparks and dust, and masonry work can release silica dust that’s harmful to breathe.
Loss of control is the real danger point. If the blade binds, kickback can happen in a split second, which is why UK health and safety law (PUWER) expects risk assessments and sensible controls like safe equipment, regular inspections and training—get the basics right and you protect people, reduce downtime, and avoid the kind of incident that stops a job in its tracks.
Quick Safety Checklist: Before, During, After
| Moment | What to check | Why it matters |
| Before cutting | Guard moves freely, blade is sound and sharp, switch works, PPE on | Prevents faults and surprise failures |
| Set‑up | Blade depth set correctly, cords clear, workpiece clamped/supported | Reduces binding and kickback risk |
| During cutting | Two hands, stable stance, steady feed, stand to the side | Helps you keep control |
| After the cut | Blade fully stopped, power disconnected for adjustments, tool cleaned/stored | Avoids the “coasting blade” injury trap |
1. Prep First: PPE and a Safe Work Area
Most safe cuts are decided before you ever pull the trigger.
Before you start (the non‑negotiables)
- Perform a hazard analysis. Think through the material, the cut, and the environment so you can pick the right saw and the right set-up.
- Read the manual. It’s the quickest way to catch tool-specific limits and safety steps.
PPE and work area basics
- Wear appropriate PPE. Eye protection is a must. Add hearing protection, gloves, and a respirator or dust mask if the job creates dust.
- Check the work environment. Aim for good lighting, stable footing, and a clear work area.
Tool checks that prevent bad days
- Inspect the saw. Make sure guards move freely, the blade is in good condition, and the switch works as it should.
A calm set-up beats a rushed fix every time.
2. Set Up Your Saw for Safer Cuts
A saw that’s set up well cuts cleaner, feels steadier, and is less likely to snag.
Tool + blade choices
- Choose the correct blade. Use a sharp blade that matches the material. Dull or incorrect blades heat up, bind more easily, and increase kickback risk.
Set the saw up properly
- Match blade depth. Aim for only about 3–6 mm (⅛–¼ in) of tooth below the workpiece. Deeper isn’t “better”—it’s just a more exposed blade.
- Secure guards and levers. Tighten depth and bevel levers, and keep guards working as designed. Never defeat or lock them out.
Control the cut
- Keep cords clear. If you’re on a corded saw, route the lead so it can’t drift into the blade path.
- Support your workpiece. Clamp it down and support large sheets so the cut doesn’t close and pinch the blade.
If the workpiece can move, the saw can move.
3. Circular Saw Safety Tips and Precautions During Operation

Circular saws are still power saws, but they’re common enough—and unforgiving enough—that it’s worth being extra deliberate during the cut.
Body position and grip
- Use two hands. One on the trigger, one on the front handle. Don’t hold the workpiece in your hand or across your leg.
- Stand to the side. If kickback happens, you want the saw to move past you, not into you. Keep your footing stable and don’t overreach.
How to run the cut
- Let the saw reach full speed. Start the motor and let the blade spin up before you touch the material.
- Feed steadily. Keep a firm grip and a steady pace. Don’t force it—forcing is what makes blades bind.
Kickback control (the safety-critical bit)
- Set blade depth correctly. Keep it shallow enough to reduce exposure and help the blade clear the cut.
- Support the work properly. Keep the shoe on the supported side and let the cut-off piece fall away freely.
- Keep your hands and body clear. Never reach under the workpiece. Keep your body, hands, and (if corded) the cord away from the blade and kerf.
These circular saw safety tips apply to both corded and cordless saws—just make sure nothing (battery or cable) interferes with a smooth feed.
Myth vs fact
- Myth: “Once I release the trigger, it’s safe to move.”
- Fact: The blade can still be coasting—this is where people get caught out.
4. Saw Safety Stop: After-Cut Checks and Clean‑Up
This is where people relax. It’s also where avoidable injuries happen.
Stop safely
- Wait for the blade to stop. Don’t lift, twist, or reposition the saw until the blade has fully stopped.
- Disconnect power. Unplug corded saws or remove batteries before blade changes, clearing jams, or any maintenance.
Clean and store properly
- Clean and store tools. Clear dust and debris from the guard area and store the saw in a dry place.
- Inspect blades regularly. If teeth are damaged or the blade is warped, swap it out. Overheated, dull blades are a common trigger for kickback.
Build these habits and you’ll protect your hands, your kit, and your schedule.
Extra Safety Habits That Prevent Mistakes
Avoid the high‑risk mistakes
- Avoid hidden hazards. Check for nails, screws, and embedded services before you cut. Isolate power or water where needed.
- Don’t modify the tool. Never defeat safety devices or alter guards.
Good habits on site
- Don’t operate when impaired. If you’re exhausted, unwell, or on medication that affects focus, pause and reset.
- Train workers. Job-specific training helps operators spot hazards and use the right technique for the tool.
- Select equipment with safety features. Where possible, choose tools designed to reduce kickback risk and manage dust.
Cut Dust Down with Dry-Cut Saws
Conventional cutting methods can create clouds of dust that can cause respiratory illnesses such as silicosis. Multiquip UK’s dry‑cut saws integrate powerful vacuum systems that capture up to 99.5 % of dust at the source.
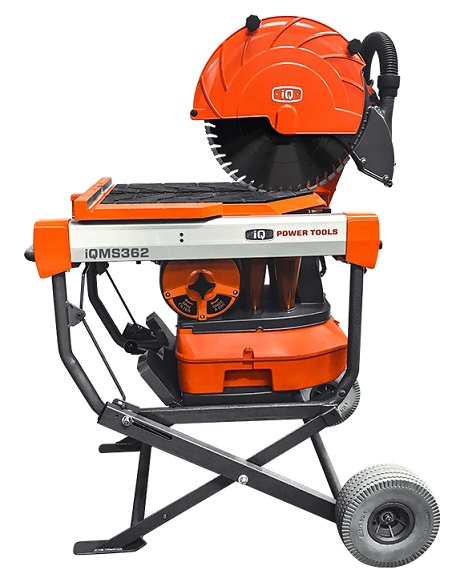
The iQMS362 dry‑cut masonry saw features a sealed blade guard, rear dust guard and downdraft table to contain dust.
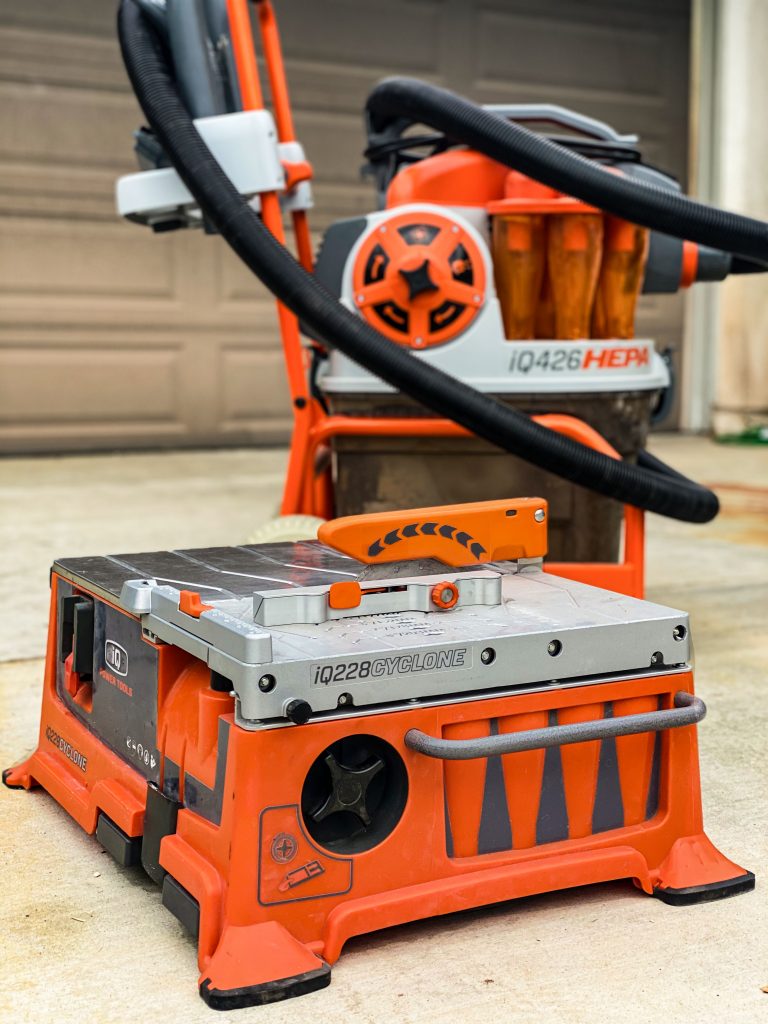
For tile work, the iQ228CYCLONE tabletop saw offers precise cuts using the TRU‑CUT system and micro fence while eliminating water and dust.
Both saws are available for hire or purchase, and hire charges can be credited toward a future purchase. To see these innovations in action, contact Multiquip UK for a demonstration.
Final Thoughts: Make Safe Cutting a Habit
Power saws are brilliant tools, but they reward good habits and punish shortcuts. Stick to these power saw safety tips, keep your set-up tidy, and treat the post-cut moment like part of the job—not the end of it.