Concrete mixers, also called cement mixers, improve efficiency and consistency on site by blending cement, aggregates and water into a uniform mix. Whether you are building a patio at home or regularly pouring concrete on a construction site, understanding how to use a concrete mixer correctly will improve your results and prolong the life of your equipment.
This simple guide explains the different types of mixers, shows how to mix concrete in a concrete mixer, and shares practical tips for cleaning and maintenance so you can focus on the task at hand and avoid unnecessary downtime.
What is a Concrete Mixer?
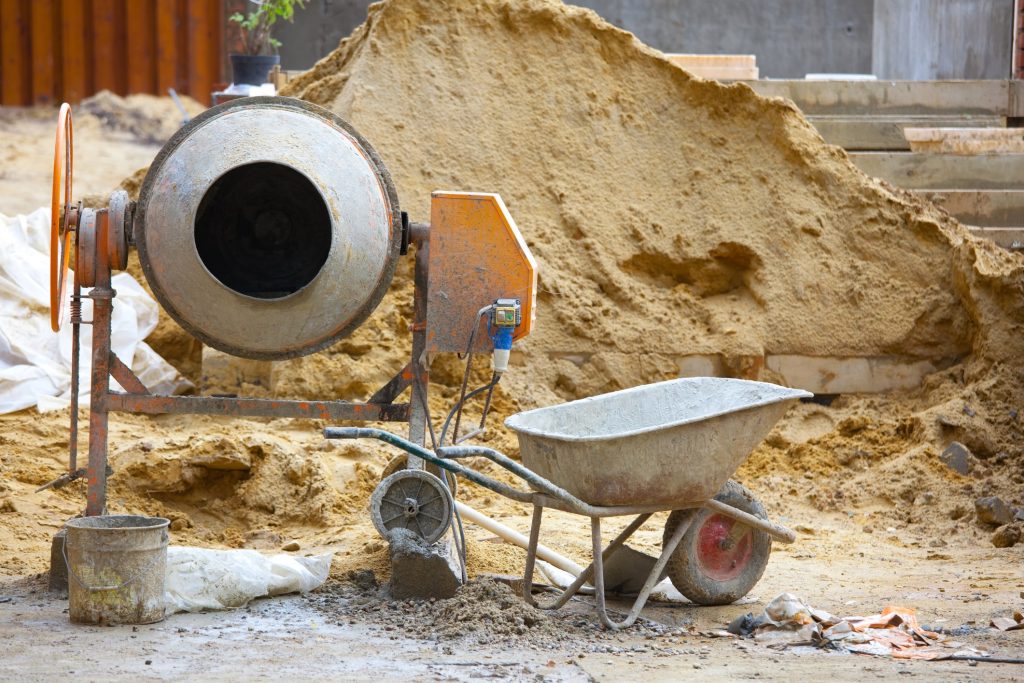
Before learning how to use one, you need to understand what a concrete mixer is. It’s a rotating drum powered by an electric motor or petrol engine that combines cement, sand, gravel and water into fresh concrete. Drum capacities for DIY mixers typically range from 120 to 250 litres; larger professional units can handle more. Most mixers tilt on a foot brake or lever so you can empty the drum into a wheelbarrow.
When choosing a mixer, consider:
- Power source: electric mixers are common and quiet, while petrol units are handy on remote sites without power.
- Drum capacity: bigger drums mix more material per batch but are heavier to move. For small DIY jobs, a smaller drum is sufficient.
- Tilting system: foot-brake models let you lock the drum in any position; rod-controlled mixers have fixed positions.
The 1-2-3 Mixing Ratio
Concrete strength depends on the ratio of its ingredients. A widely used 1:2:3 rule means 1 part cement, 2 parts sand and 3 parts gravel. Water is added gradually until the mix reaches a smooth, workable consistency. For mortar (used for bricklaying) the typical ratio is 1 part cement to 3–4 parts sand with 0.6–1 part water.
Pro Tip: always check the product packaging for specific ratios and never add too much water – too much water weakens the final concrete.
How to Use a Concrete Mixer – Step-by-Step Guide
1. Plan your project and gather materials
- Estimate quantity – Use a concrete calculator to determine how many 25kg bags of concrete you need. Most small mixers hold 120–150 litres, so plan multiple batches if you’re pouring a large slab.
- Choose the right mixer – Rent or purchase a mixer sized for your project. For smaller domestic projects, hiring a mixer is often more cost-effective than purchasing.
- Gather safety gear – Always wear safety glasses, an FFP2 or FFP3 dust mask, gloves and long sleeves and trousers.
- Prepare your site – Place the mixer on firm, level ground with easy access to your work area. Have a hose and water supply ready, along with buckets, a measuring jug and a wheelbarrow for moving the mix.
2. Inspect and set up the mixer
- Check all bolts, fasteners and guards are tight.
- Ensure there is no hardened concrete or debris inside the drum.
- Secure the mixer on stable, level ground so it cannot tip over and lock the drum in place before operation.
- Plug electric mixers into an RCD-protected socket and use a heavy-duty extension lead rated for site use. Petrol mixers should only be used outdoors to avoid fumes.
3. Measure water and materials
- Read the instructions on your concrete mix bag and measure out the required water using a bucket or measuring jug. Mark the water level on the bucket for easy refills.
- DIY mix: measure out cement, sand and gravel in the 1:2:3 ratio. Keep bags of dry mix within easy reach of the mixer.
4. Start and load the mixer
- Switch on the mixer before loading – starting under load strains the motor. Let the drum rotate slowly.
- Pour about three-quarters of the water into the drum.
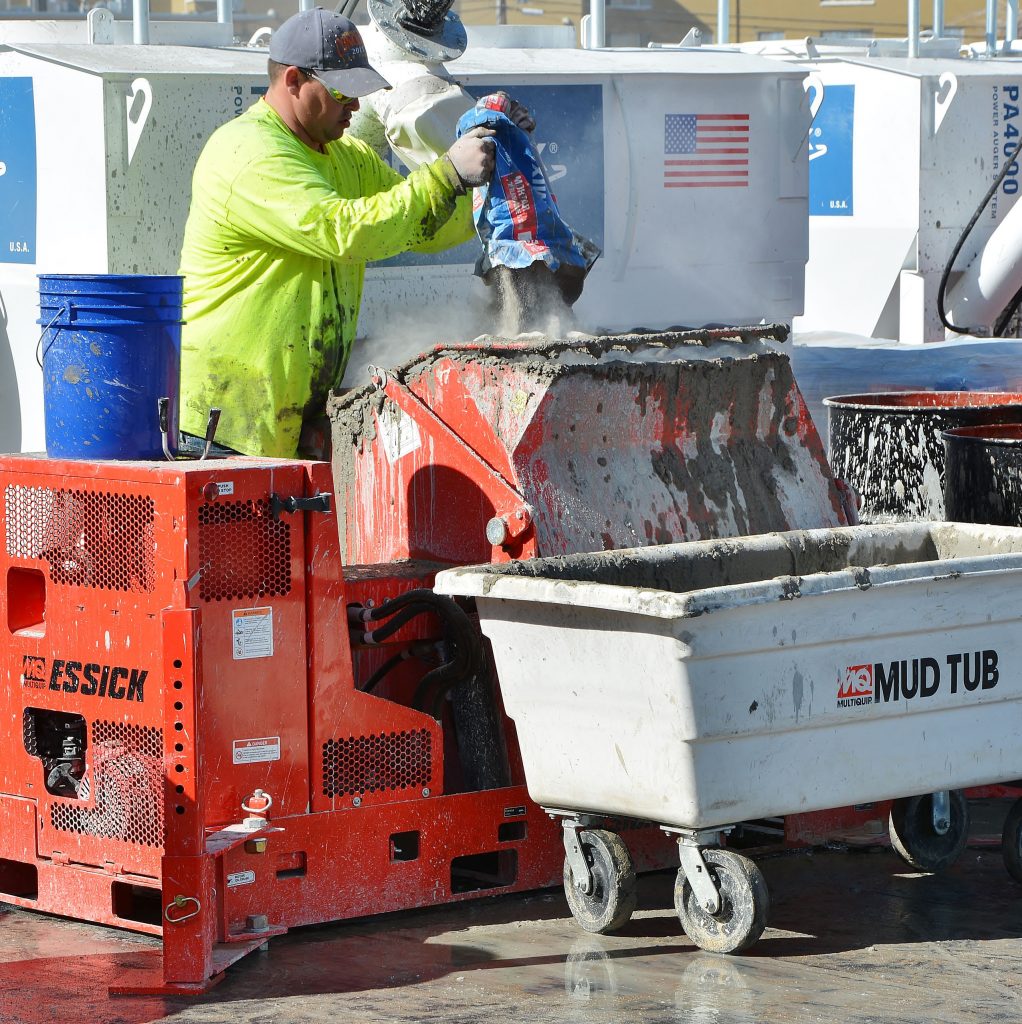
- Wearing gloves and an FFP2 or FFP3 dust mask, carefully add half the dry mix to the rotating drum. A mixing hood, splash guard or temporary cover held over the drum opening helps reduce airborne dust.
- Add the remaining dry mix in stages and slowly pour in the rest of the water until the concrete reaches a thick, workable consistency. Avoid overloading the mixer beyond its rated capacity.
5. Mix the concrete
- Let the drum turn for 3–5 minutes. During mixing, you can tap the drum lightly with a rubber mallet to help consolidate the ingredients.
- Add small amounts of water only if the mix is too dry. Too much water weakens the concrete and makes it difficult to finish.
- The concrete is ready when you can squeeze a handful together and it holds its shape but breaks apart cleanly under light pressure. If it falls apart, add a little water; if it doesn’t crumble, add a little dry mix or aggregates.
6. Pour the concrete
- With the drum still turning, tilt or unlock the mixer and pour the concrete into your forms or into a wheelbarrow.
- Enlist a helper: concrete is heavy and you may need assistance guiding the wheelbarrow.
- Work efficiently since concrete typically begins to stiffen within 30–45 minutes, depending on mix design and ambient temperature.
7. Clean the concrete mixer drum
Proper cleaning prevents hardened concrete from ruining your mixer:
- Shut down and unplug – Turn off power and disconnect the mixer before cleaning.
- Remove leftover mix – Scrape out any remaining concrete from the drum.
- Rinse and agitate – Add water and a few handfuls of coarse gravel, then run the mixer for several minutes to scour the drum. Collect the slurry in a suitable container, never discharge into drains or watercourses, allow the solids to harden, then dispose of them in accordance with local environmental and waste regulations.
- Hose off exterior – Use a garden hose or pressure washer to clean the outside of the drum, taking care to keep water away from the motor and controls.
- Dry and protect – After cleaning, run the drum briefly to remove residual water. Spray the inside with a rust-inhibiting lubricant if storing the mixer for a long period.
Tip: It’s far easier to clean a mixer immediately after use than to chip out hardened concrete later.
Maintenance Tips for Long-Lasting Mixers
Now that you understand how to use a concrete mixer, keeping it in good condition extends its life and ensures consistent batches:
Regular inspections
Check bolts, drum bearings and drive belts for wear. Tighten any loose fastenings and replace worn parts.
Protect the motor
Keep dust and cement off the engine or electric motor. For petrol mixers, change the oil and air filter regularly according to the manufacturer’s instructions.
Lubricate moving parts
Grease the pivot points and bearings to prevent squeaks and wear. Avoid spraying lubricant directly into the drum when mixing.
Store correctly
Park the mixer under cover when not in use and store it off the ground to prevent rust. Cover the plug or engine against rain.
Observe safety guidelines
Always wear PPE when operating or cleaning the mixer and keep your hands and tools away from the rotating drum.
How to Choose the Right Concrete Mixer for Your Project
At Multiquip UK we offer a range of concrete mixers designed for both users working on small projects and professional contractors.
Consider the following when selecting a mixer:
- Project size: For small slabs or footings, a compact electric mixer is ideal; for larger pours or commercial jobs, a petrol-driven mixer with a bigger drum saves time.
- Portability: Lightweight mixers with foldable stands are easy to transport. Towable mixers suit larger construction sites.
- Durability: Look for mixers with robust steel or polyethylene drums, heavy-duty frames and reliable motors. All Multiquip mixers are built to withstand tough site conditions.
- Service and support: Choose a supplier that offers after-sales service, spare parts and technical advice. Multiquip UK prides itself on customer care and product knowledge.
Explore our products
Need a mixer for your next project? Visit our concrete mixers product page to browse electric and petrol models. If you’re unsure which mixer suits your needs, our team is happy to help – contact our technical team for product advice, specification support or to arrange hire.
Frequently Asked Questions (FAQs)
How many bags of concrete can you mix at once?
This depends on the mixer’s drum size and motor rating. As a general guide, smaller mixers typically handle one 25kg bag per batch, while larger professional mixers can handle more. Always follow the manufacturer’s capacity limits to avoid overloading and premature wear.
What is the 1:2:3 rule?
It refers to the proportion of materials used – cement, sand and aggregate – to achieve a balanced, general-purpose concrete mix suitable for most construction tasks.
Can I add colour to concrete?
Yes. Pigments should be pre-mixed with water before being added to the drum to ensure even colour distribution throughout the batch.
What are common mistakes when mixing concrete?
The most common issues include over-watering the mix, insufficient mixing time, and delaying placement, all of which can compromise strength, durability and finish quality.
How do I clean a concrete mixer drum?
Cleaning immediately after each batch using water and coarse aggregate prevents material build-up, protects internal components and extends the working life of the mixer.
Conclusion
Using a concrete mixer correctly will make your projects faster, cleaner and more professional.
By planning your work, measuring materials accurately, following proper mixing steps and cleaning the drum immediately after each batch, you’ll produce strong, durable concrete every time. Choosing a reliable mixer and maintaining it well also means fewer breakdowns and smoother pouring days. When you’re ready to tackle your next project, trust Multiquip UK to provide the right equipment and support. Explore our mixers, read more on our blog, or contact us for personalised technical advice and professional support.